
Contrary to dry cupping, wet cupping requires superficial scratches and antiseptic application to the surface of the skin. Indeed, the term wet cupping is used when the therapist makes small incisions on the skin after the cup has been removed. The cup is then applied again to draw out a small quantity of blood. Then, the therapist will use an antibiotic ointment and dressing to prevent infection. This method helps to remove toxins from the body to promote natural healing.
Equipment
The therapist must be equipped with the following material:
- The therapist must be equipped with the following material:
- Single use cup
- Suction pump
- Sterile surgical blade
- Alcohol wipes
- Antiseptic cream/antiseptic spray/black seed oil
- Sterile surgical blade
- Tissues
- Waste bin (lined with a bin liner)
- Sharp box
- Tray to place cups and blade in
- Medical gloves simultaneously, disposable apron and a medical mask (medical mask is optional).

Steps to Follow
The therapist must be equipped with the following material:
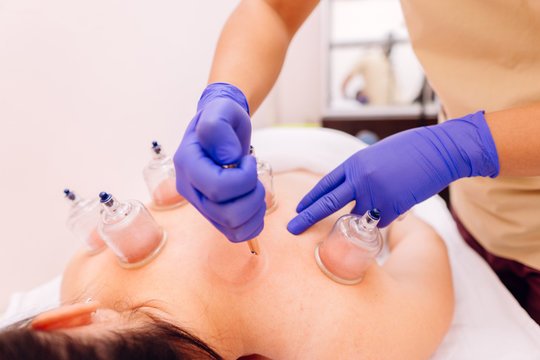
- Placed the cup on the chosen area and create a vacuum between the cup and the skin using the pump. The size of the cup will depend on the area to be cupped. If the cup does not retain the vacuum, a small amount of honey/oil can be applied to help contain the vacuum.
- The cup should be left on the skin approximatively 5 minutes. Then remove the cup gently pulling the valve on top on the cup.
- Clean the area of the skin to be cupped using antiseptic.
- Apply small incisions on the skin where the cup was placed with a surgical blade.
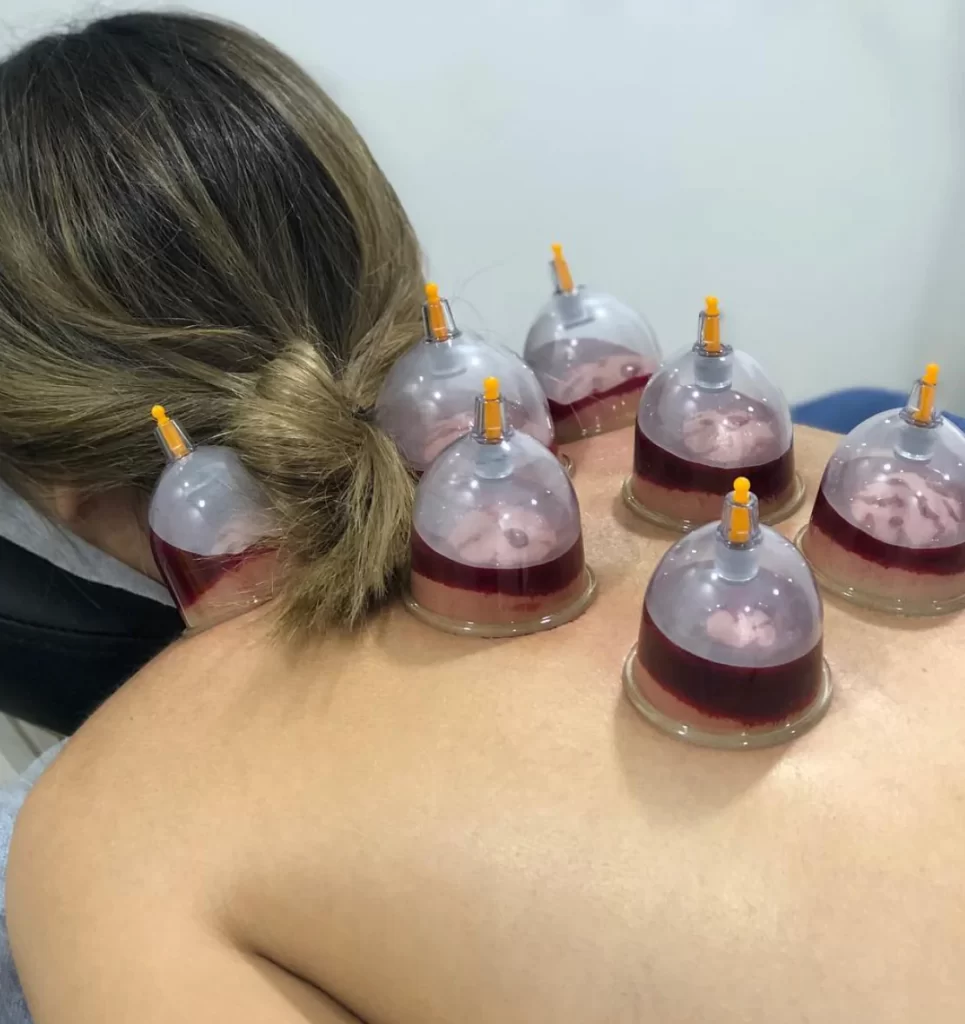
- Reapply the cup on the same place as before and create the vacuum with the pump. Blood will begin to rise to the surface.
NOTE: The blood excreted is toxic, unhealthy, stagnant blood and uric acid which needs to be removed from the body. - Depending on the blood flow, the cup may need to be removed, the area wiped (wipe with soft tissue in line with the incisions) and the same cup reapplied.
- When the cupping is completed, apply antiseptic spray and wipe with tissue (always in line with the incisions).
- Wash your hands with an antibacterial hand wash.
- Give the patient dates or honey and water to drink.
Contraindications for Wet Cupping
The therapist must be aware of some conditions that serves as a reason to withhold wet cupping as it may cause harm to the patient. Here are listed below some contraindications and some areas of the body where wet cupping must not be applied:
- Open wounds, boils and skin infections.
- Patients with renal failure and on dialysis treatment
- Pregnant women
- Haemophiliac (genetic blood disorder)
- Patient with a fever of 38° or higher
- Patient with a pulse rate below 70
- Patient with blood pressure below 65
- Areas of the 5 senses (nose, ears, eyes, mouth, palms of hands)
- Private parts
- Fractures
- Pulled muscle
- Where veins are close to the surface of the skin
- A recently traumatized area
- Ulcerated skin
- Enlarged blood vessels, aneurysm (widening of the artery), or advanced arteriosclerosis (hardening of the arteries)
- Patients with inflamed organs
- Patients who have bleeding due gastric or duodenal ulcers
- Patients with uncontrolled movements
Key point to remember when making incisions
- Incisions must be in vertical direction
- No longer than 2mm
- Be separate from one another.
- Incise the superficial (top) layer of the skin
- Not leave a scar once healed (if it does, it means the incision was too deep)
- The number of incisions will depend on the size of the cup, but no more than 30.
- Do not make incisions on diabetics nor people taking blood-thinning medication, pricks should be made instead
Note:
- If using black seed oil instead of antiseptic to clean the skin before the cupping is performed, do not let the gloves become greasy. This may compromise your grip of the blade and is a serious safety hazard.
- Making incisions should not be painful for the patient. It should feel like the gliding of a fingernail over the skin.
- Frequently ask the patient if it hurts when making the scratches. This will help you learn the level of pressure to apply generally.
- Incisions should not be visible until you reapply the cup to drain the blood. If they are visible, this may indicate deep incisions.
- You can apply as many cups as needed for a patient that you have treated before. If the patient is new to cupping, you should apply 2-3 cups (approximately). This is to see how the patient responds to cupping and how they react to the cupping after treatment. If they feel comfortable you can then apply more.
- You must stay with the patients whilst they have cups attached to their skin. When creating the vacuum using the pump, always make sure the patient is comfortable with the level of suction. If it is too painful, remove the cup and reapply with the appropriate level of suction. The therapist must always be attentive and listen to the patient’s needs.
- When removing the blood, avoid fluffy materials such as a cotton wool balls or pad, as strands of material can get stuck to the ins.
After Care
It is recommenced for the patient to follow the below points:
- Avoid having a shower/bath for 24 hours
- Avoid dairy and red meat products for 2 days. These foods require more energy and blood flow during digestion, therefore reducing the blood flow to the cupped areas and slowing the healing process.
- Apply black seed oil on cupped areas to help itchiness, aid healing, reduce scarring and reduce the risk of infection.
- Avoid strenuous activities for 24 hours
- Avoid sexual relations for 24 hours.